Access-Control-Allow-Origin response header to decide whether the calling page is permitted to read the response. Without this header, the browser blocks cross-origin access — even if the server returned a 200 OK with the full content.
Consider a user visiting http://site-a.com who requests an image hosted at http://cdn.site-b.com/image.jpg. The browser sends a request to http://cdn.site-b.com/:
Origin header tells the server which site sent the request. The http://cdn.site-b.com server uses this value to decide whether to include Access-Control-Allow-Origin in the response.
- If the header is present and permits
http://site-a.com, the browser allows the page to read the response and the image is displayed. - If the header is absent or does not permit
http://site-a.com, the browser blocks access to the response — even though the server returned a200 OKwith the image.
Access-Control-Allow-Origin header to browser responses. Use it to protect content from use on third-party sites or to prevent errors — XMLHttpRequest cannot load http://domain.com and No Access-Control-Allow-Origin header is present on the requested resource — that appear when web fonts load in Firefox or Internet Explorer from CDN servers.
Configure CORS header support
There are three methods to configure CORS header support: in the resource settings, via rule creation, and on the origin server.Configure CORS in the resource settings
Use this method to apply the configuration to all files delivered over the CDN.- Navigate to CDN > CDN resources and click the CDN resource to configure.
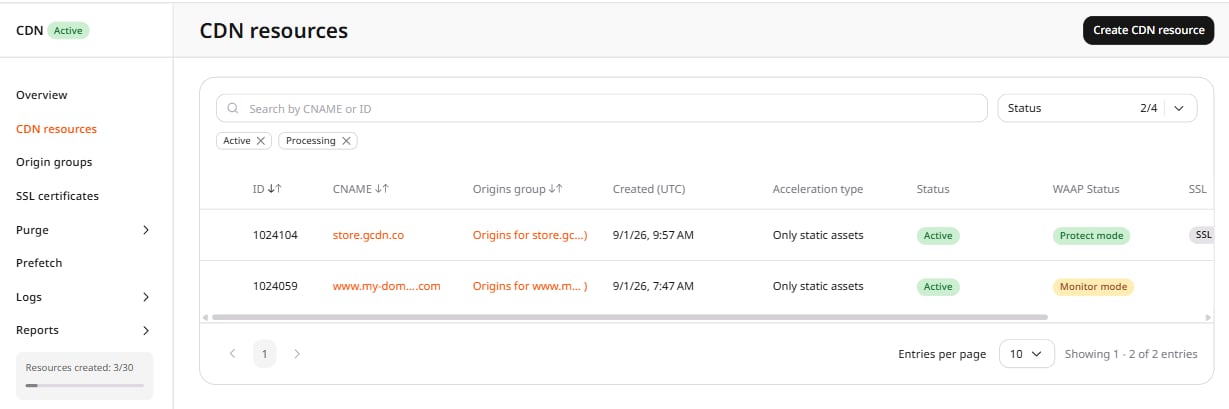
- In the resource settings panel, click HTTP headers to expand the section, then click CORS header support.
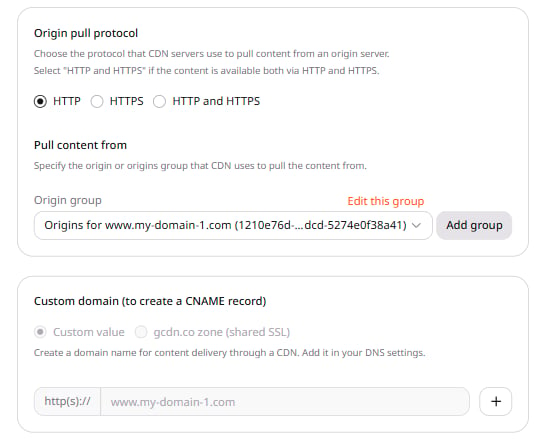
- Enable the CORS header support toggle.
- Configure one of the three available options:
*, for all domains
*, for all domains
The CDN includes
Access-Control-Allow-Origin: * in every response, allowing browsers from any origin to read it.'$http_origin' if an origin is listed below
'$http_origin' if an origin is listed below
Enter the domain name from which cross-origin requests are permitted —
site-a.com is an example. Up to 20 domains are supported. When CDN servers receive a request, they check the value of the Origin header to determine which site the request came from.-
If it matches any of the listed domains, the CDN includes
Access-Control-Allow-Originin the response set to the matched origin, and the browser allows the page to read the response: -
If it does not match, the
Access-Control-Allow-Originheader is omitted from the response. The browser blocks cross-origin access.
'$http_origin', for all domains
'$http_origin', for all domains
Similar to the first option, but use it when the
* value is unsuitable — for example, when requests include credentials. The CDN echoes the request’s Origin value in the Access-Control-Allow-Origin header, allowing browsers from any origin to read the response. If a request comes from http://site-b.com, the response looks as follows:-
(Optional) Enable Always add the header to response from CDN regardless of response code to add the
Access-Control-Allow-Originheader to responses with any status code, including those when content is unavailable. When left disabled, the header is added only to responses with specific status codes. - Click Save changes.
Configure CORS via rule creation
Use this method to apply the configuration only to particular files.- Navigate to CDN > CDN resources and click the CDN resource to configure.
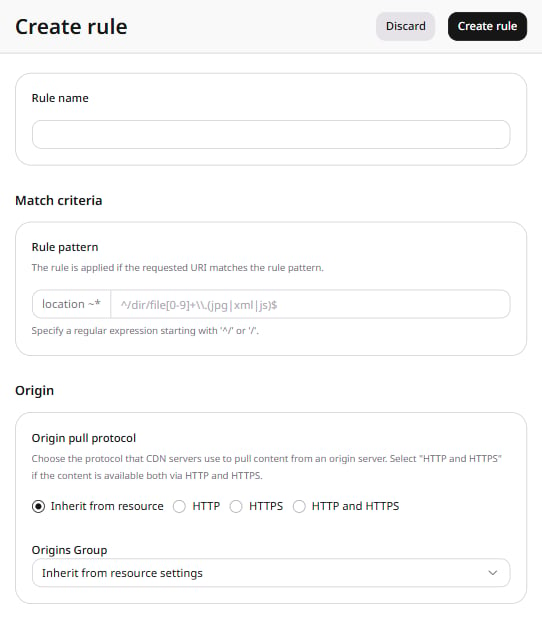
- Open the RULES tab, click Create rule, and select Create blank rule from the list.

- Specify the settings (rule name and path to files) according to the create a rule guide.
- Click Add option, select CORS header support, and click Close.
-
Configure the option. When the option is enabled, the
Access-Control-Allow-Originheader is added. When the option is added but left disabled, the header is not added. - Click Create rule to save the changes.
Configure CORS on the origin server
The following examples show how to set up CORS for Apache and Nginx web servers. Apache:Check CORS
Clear the CDN resource or file cache according to the clear CDN cache guide, then use one of the methods below.Check CORS through cURL
- Open a terminal on macOS or Command Prompt on Windows.
- Run the following command, substituting the file URL and the origin of your website:
-H "Origin: ..." flag simulates a browser cross-origin request. It is required for the $http_origin-based modes — without it, the CDN omits the Access-Control-Allow-Origin header even when the configuration is correct. For the * mode the header is returned regardless of whether Origin is present.
- In the output, confirm the
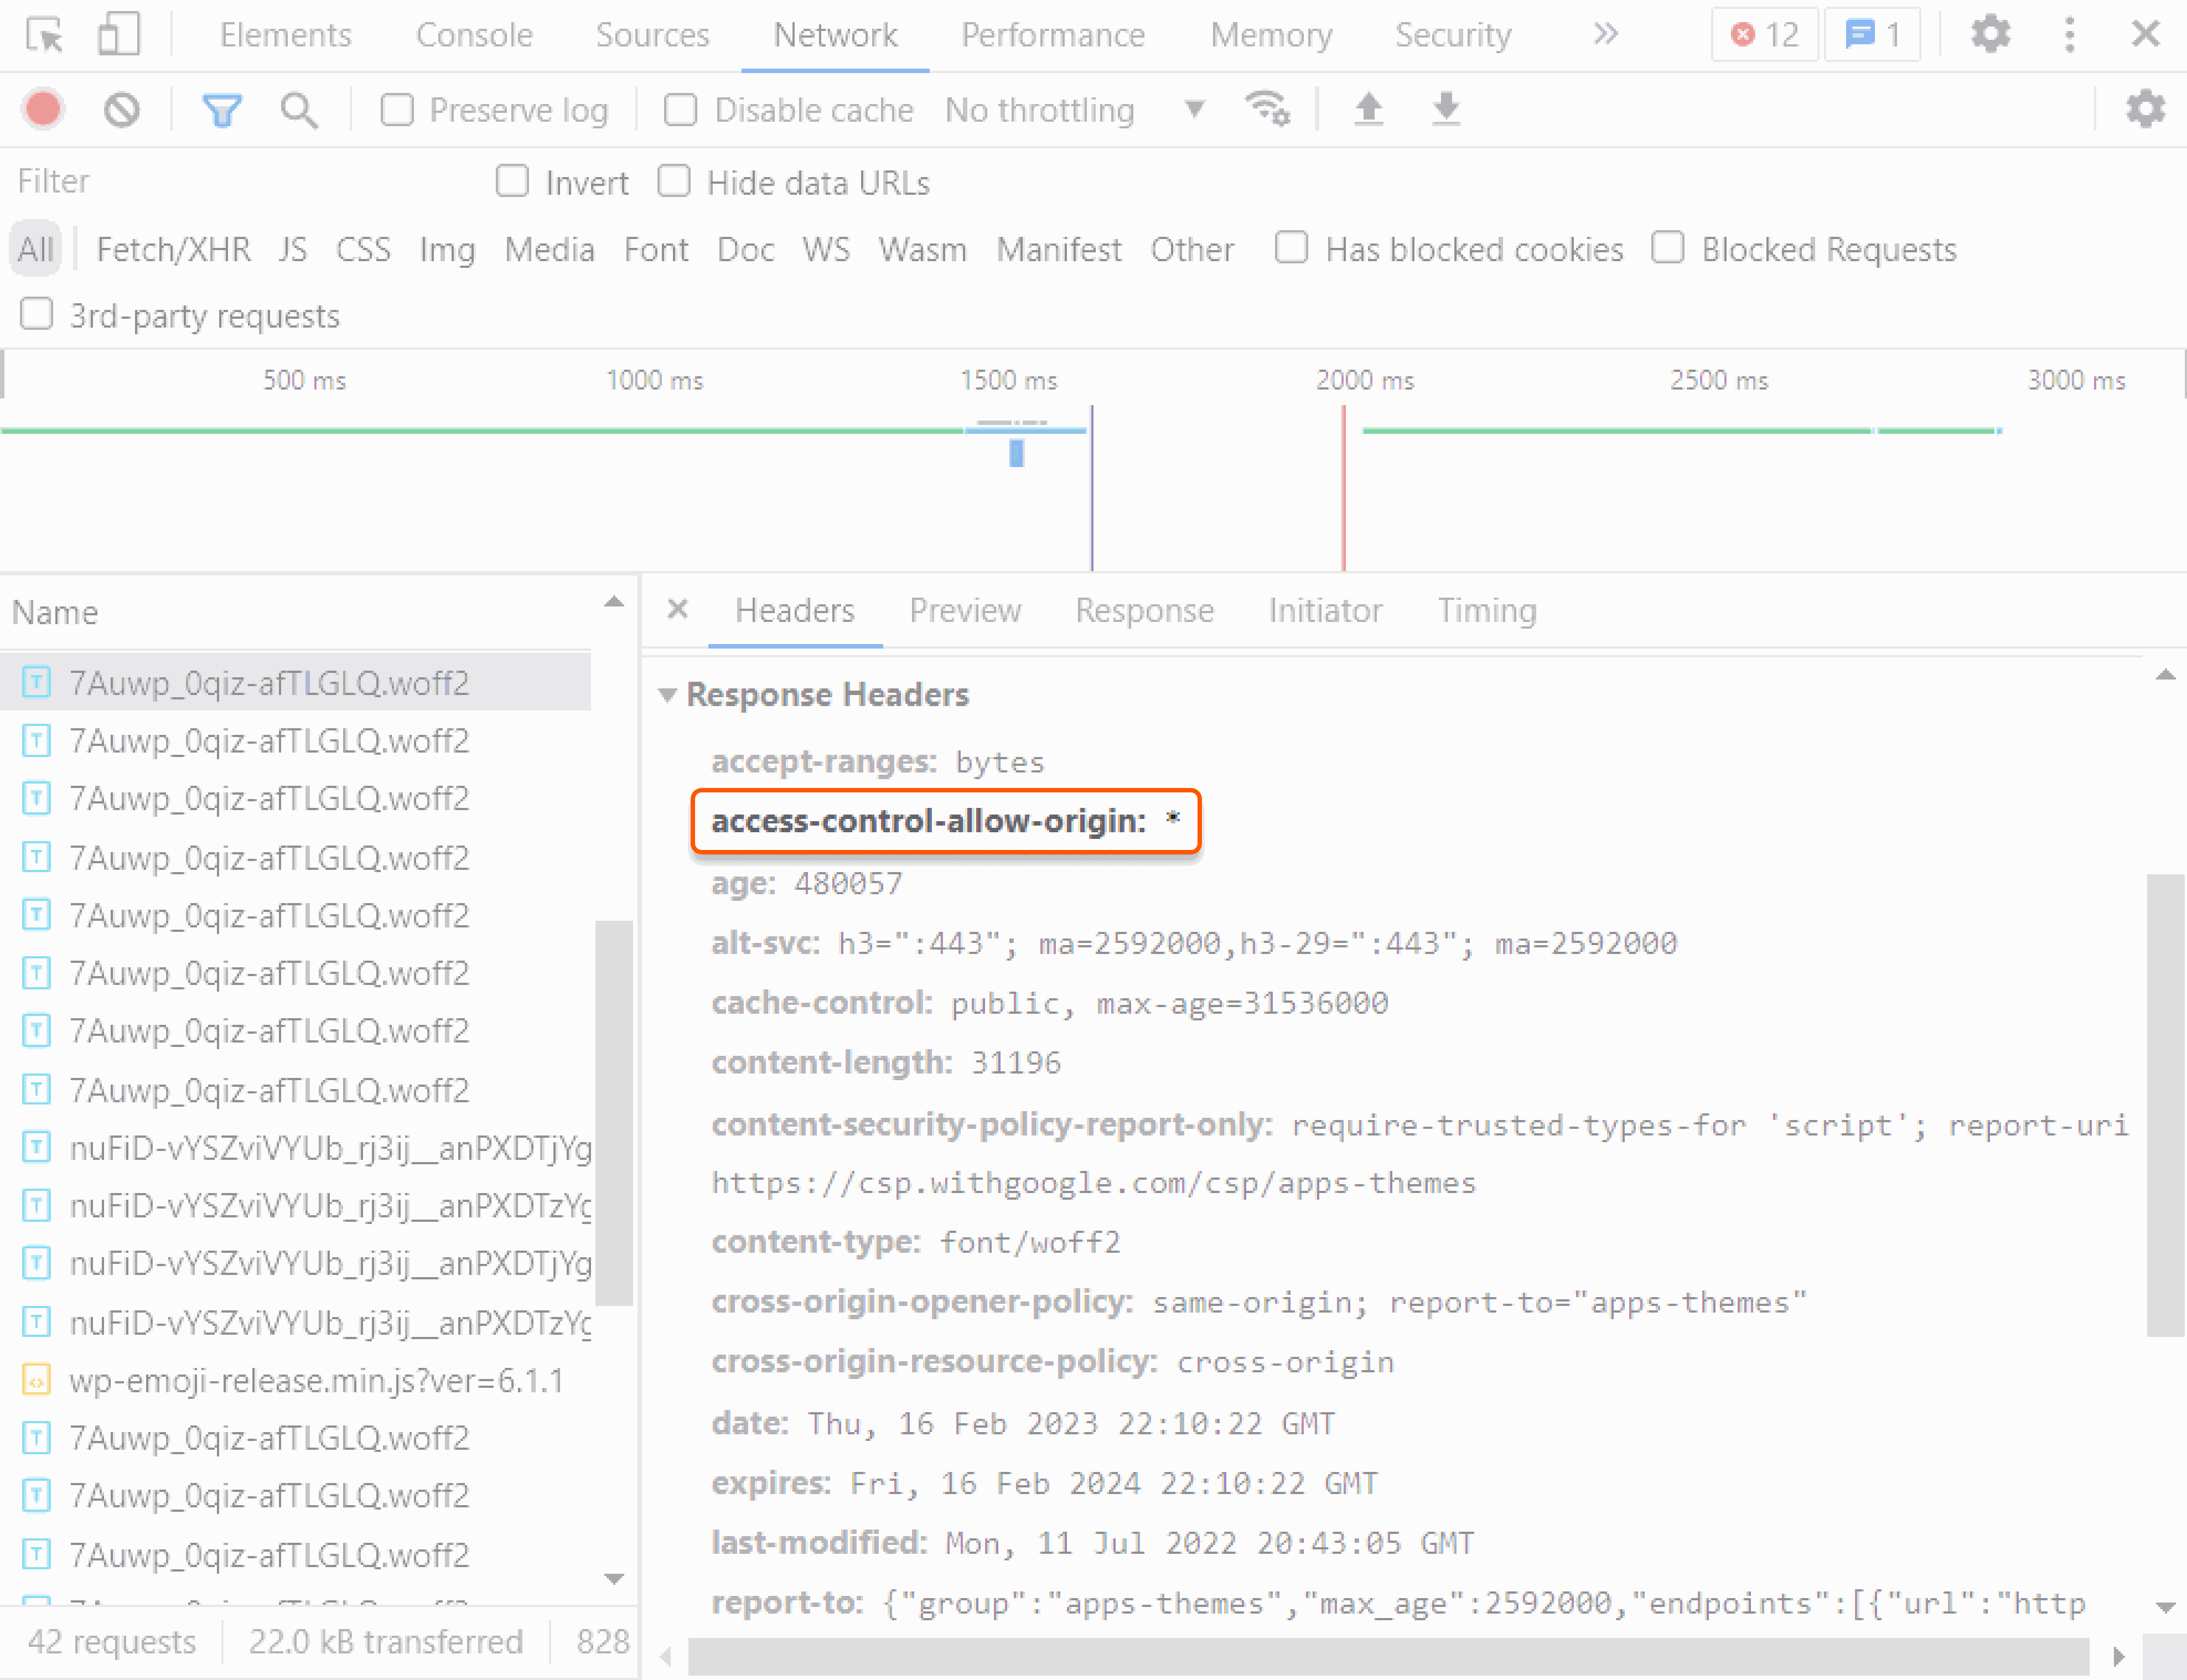
Access-Control-Allow-Originheader appears. If it is present, the configuration was successful.
Check CORS with DevTools in a browser
- Open a browser — Google Chrome is recommended.
- Navigate to the website.
- Right-click and select Inspect to open DevTools.
- Select the Network tab.
- Refresh the page.
- Select any CDN-delivered file — a JPEG, PNG, or CSS file.
-
In the Headers tab on the right, check whether the
Access-Control-Allow-Originheader is present. If the header appears, the configuration was successful.