

*.gcdn.co hostname, and access to the Cloudflare DNS zone are required.
Cloudflare can proxy eligible A, AAAA, and CNAME records individually. Set the CDN CNAME record to DNS only so requests resolve directly to Gcore instead of passing through the Cloudflare proxy first.
CNAME record setup
Add the custom domain from the Gcore resource to the Cloudflare DNS zone.1
Open the Cloudflare DNS records
In the Cloudflare dashboard:
- Select the account.
- Select the domain.
- Navigate to DNS > Records.
2
Add the CNAME record
Click Add record and configure the record:
- Set Type to CNAME.
- In Name, enter the CDN subdomain configured in Gcore —
cdnforcdn.example.com. - In Target, enter the
*.gcdn.covalue shown in the CDN resource’s Setup guide. - Set Proxy status to DNS only.
- Click Save.
3
Verify the DNS record
Confirm that the saved CNAME points to the
*.gcdn.co value shown in the CDN resource’s Setup guide and shows DNS only. Gcore uses this record to validate the custom domain.Proxied origin settings
When Cloudflare only hosts DNS for the CDN CNAME, keep the existing Gcore origin settings. When Cloudflare also proxies the origin hostname, align the origin protocol, host header, and SNI hostname in the Customer Portal.1
Open the CDN resource settings
In the Gcore Customer Portal, navigate to CDN > CDN resources and click the resource CNAME.
2
Select the origin pull protocol
In General > Origin pull protocol, select a protocol accepted by the Cloudflare-proxied origin: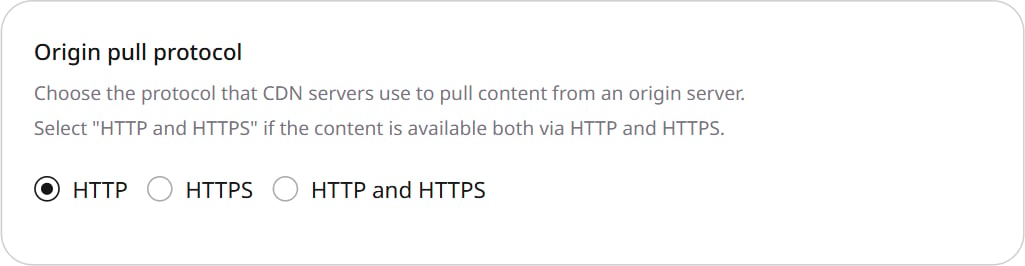
- HTTP sends unencrypted requests to the origin.
- HTTPS encrypts requests to the origin.
- HTTP and HTTPS supports pulls over both protocols when the origin accepts both.
3
Configure the Host header
In HTTP headers > Host header, set Change Host header to the Cloudflare-proxied origin hostname — for example
example.com. This is the hostname Cloudflare expects on origin requests. Host header options are in Configure and check the host header.4
Configure SNI for HTTPS
When using HTTPS, navigate to Access > SNI hostname and enable Change SNI hostname. Gcore connects to the Cloudflare-proxied hostname, and Cloudflare terminates TLS at the edge. The SNI hostname must therefore be covered by the certificate presented at the Cloudflare edge, not the certificate installed on the underlying origin.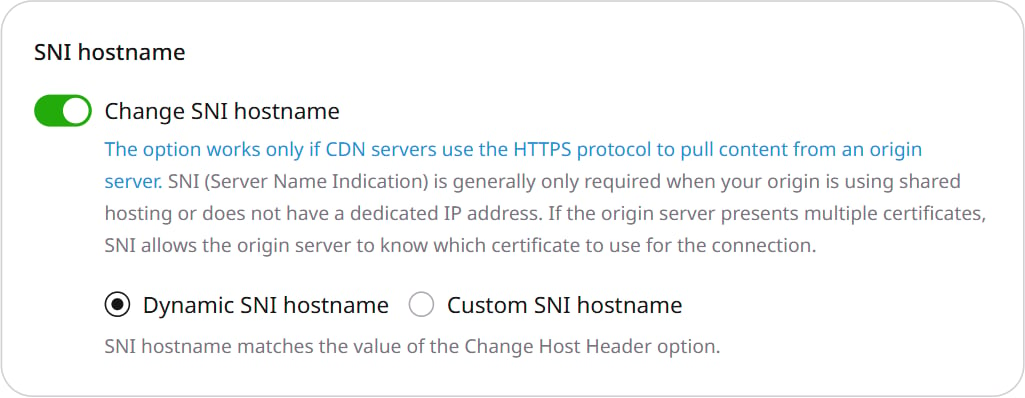
- Select Dynamic SNI hostname when the Change Host header value already matches a hostname on the Cloudflare edge certificate.
- Select Custom SNI hostname to specify a different hostname covered by the Cloudflare edge certificate.
5
Save and test delivery
Click Save changes. Purge the test asset, then request it through the CDN domain so the request causes an origin pull. If the request returns a 502 response, verify that the origin accepts the selected protocol, that the Host header matches the hostname Cloudflare expects, and that the SNI hostname is covered by the Cloudflare edge certificate.